Showing posts with label turbo precision glue pen. Show all posts

Saturday, 26 March 2016

With Heartfelt Thanks card - Couture Creations

#artdecocreations #couturecreations #ulitmatecrafts


Hello hello on this lovely March Day.  Where is the year going? 
Days are flying by and before we know it Winter will be here (and i say bring it on!)

Here in Queensland we are about to start our Easter school holidays, which also means the Easter Bunny is close!  Next Term my son will be starting a new school, so I've made a Thank You card for one of his teachers using our gorgeous Magnolia Lane range.  For something a little different I've used bright & vibrant colours - it shows just how versatile this range really is. 

Don't get me wrong, I adore the colours in Magnolia Lane. But I also love using the collection dies embossing folders & stamps to create with any colour you want.  Which is exactly what i've done with my card today.  Sunflowers are my favourite flower.  So it seems only natural that my favourite colour is bright yellow.  

So let's get crafting!
 
I'll all for getting more for my dollar and using my products & tools in as many ways as possible.
Here I've ink the top of my embossing folder with white ink, and then run it through my Big Shot as normal. Effectively I've made my embossing folder into a 3d stamp! I love how this technique adds more dimension to the embossed pattern. 
White ink on top of embossing folder. Just swipe lightly.  
Try not to get any ink in the pattern indentions. 
 Cut your cardstock to size and place in the embossing folder as normal. 
 Carefully take out the embossed cardstock, and admire your handiwork! 
Using the white ink also gives it an understated chalky look. 


I have been itching to use this beautiful rose and leaf die called 'Rose Cutting'. 
It''s so intricate and detailed, I can see this becoming a favourite in my collection. 
And by using Quick Release Die paper, you'll have crisp cuts and images that fall out of the dies. 
I've cut one each of the solid background & rose petals in yellow cardstock, and 3 of the leaves in green cardstock.  I've attached the two pieces of the flower together by using very thin lines of glue using the Turbo Precision Glue pen in the middle of the flower. This means I can bend the flower and give it a more realistic shape rather than being flat.
To construct the card, I've placed a piece of double sided tape in the middle of the top third of the card and laid a piece of white gauze, gently scrunched on top. 
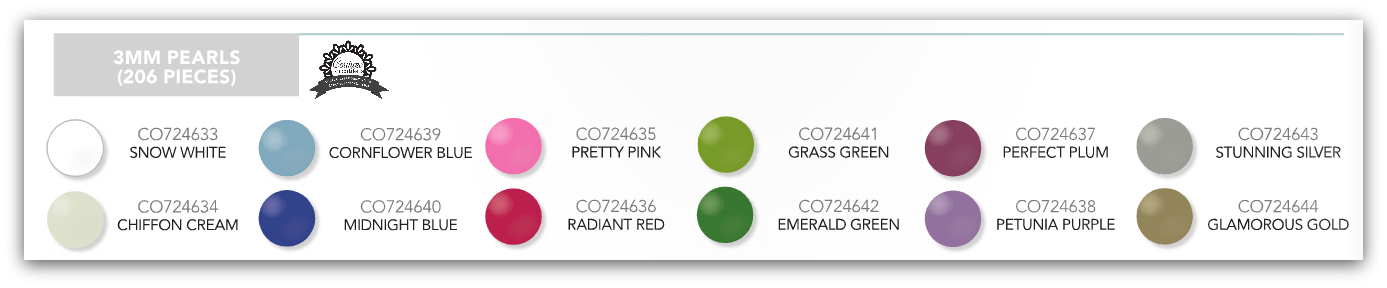
Using mini glue spots, I've stuck the leaves on, and then the flower on top of them which was mounted on foam tape.  On top of the flower I've used one of the large pearls from the Bling Flourish and Pearls set. 
 Towards the bottom of the card, under the flower, I've added a stamped sentiment (from the Songbird set) on green cardstock and a piece of white lace has been folded in half and placed on the back with double sided tape.  The sentiment has been mounted on foam tape.
And we're done!  A  bright & happy thank card that will hopefully makes someones day. 
I really think there is something so special about giving and receiving handmade cards. 
Thank YOU for visiting us today!  We love to read your comments & appreciate your kind words. 
Until next time have a happy & safe Easter my crafty friends! 

Thursday, 17 December 2015

Christmas Bon Bon - Couture Creations

#couturecreationsaus

Hi there crafters! 
Thanks for joining us again today at Couture Creations. 

Can you believe that Christmas is only DAYS away??? 
I'm still wondering where the year has gone.  2015 has just flown by! 

So today I'm sharing with you a way to combine Christmas and craft - what a perfect combination! 
 I found these gorgeous gold glitter Bon Bons and immediately thought they'd make beautiful place name holders at our Christmas Day lunch.  By using a few Couture Creations products to add some extra touches, you too can make gorgeous decorations to your Christmas table. 

So Let's get crafting! 
I started with a plain gold Bon Bon.  I've used a pre made one, but you could certainly make the actual Bon Bon yourself (Pinterest is your friend here!!) 
I've die cut a tag from black card stock, and 2 Holly leaves from green 
cardstock.  Both colours are from the new Ultimate Crafts card stock.  It's such a nice card stock to work with, if you haven't used it yet, I highly recommend it! To make a mat for the tag I've simply traced around the edge of the die on the back of our very new and exciting red glitter paper.  Pop your die cuts to the side - We'll come back and assemble our tag at the end.
Couture Creations has only just released this gorgeous pack of 10 glitter papers - helloooooo sparkle!  So many pretty colours to choose from.  And all importantly the glitter stays ON the paper!!! How many times have you made a project with glitter paper and get more on yourself? 

Using the scalloped die from the Simone's Style (Amaryllis Ornamental Lace Die Collection), I've die cut lengths from the red glitter paper and attached with glue spots around the middle of the Bon Bon, and on each of the handles (you know the bits you pull!).  By using the Quick Release Die Paper you get a clean cut first time. And the little bits just fall right out of the die. 

On to assembling the name plate. 
Now if you know the names of your guests, I'd suggest adding them before assembling the tags -it's easier to write on a flat surface.  But you can certainly complete your Bon Bons prior, and then write names on the day if you wish.  
It's totally up to you. Take your black tag, add 12mm foam tape to the back and mount on the red glitter paper. Attached the Holly Leaves (Christmas Eve Collection, Christmas Labels) to the black tag with your Turbo Precision Glue Pen (perfect for fine details) in opposite corners. 
On each of the Holly Leaves I've added these gorgeous 3mm Pearls.  They are brand new from Couture Creations and in 12 beautiful colours, compliment our classic range of coloured pearls perfectly.  I adore our 3mm Gemstones, but I can see these new tiny pearls will quickly become a new favourite. 
Once you've assembled the name tags add some more 12mm foam tape to the back of the glitter paper and stick to the front of the Bon Bon. 
And you're done!
A relatively quick and easy way to add some home made touches to bought decorations.  Your guests &/or family will love the personalised touch. 


I hope that you and your families have a very happy & safe Christmas. 
And I hope Santa leaves some crafty presents under your tree!
(Suggest he shop for the new Couture Creations goodies!!!)


Thanks for dropping by. 

Be sure to check the Couture Creations Blog to be inspired 
by the amazing ladies on the Design Team. 
You can also follow Couture Creations on
FacebookPinterestInstagram and Twitter. 


Couture Creations Products Used