Showing posts with label elegant card cuts. Show all posts

Friday, 20 November 2015

Hello Card - Couture Creations


#couturecreationsaus

Welcome to another day of Couture Creations inspirations!
Tracey R with you today - nice to see you.

When you haven't used product in your stash for a while it's like rediscovering them all over again!
That was me with today's project - a card using the beautiful Vintage Rose Collection.
I 've been using Hearts Ease so much that my lovely Vintage Rose and been delegated to the bottom of my paper stack...but not today!

So let's get crafting with an old favourite!
I especially loved the greens in the Vintage Rose Collection, and this paper (Blooms in Green) was one of my favourites.  Obviously because I had been hoarding it for that "special project!" 
Time to use this beauty and make a card for a special friend. 

I've cut a piece of  the Vintage Rose paper and run it through my Big Shot with this lovely embossing folder from the Hearts Ease Collection
To really bring out the embossed pattern I've lightly dabbed a small ink pad over the paper, 
so it just picks up the raised contours. 
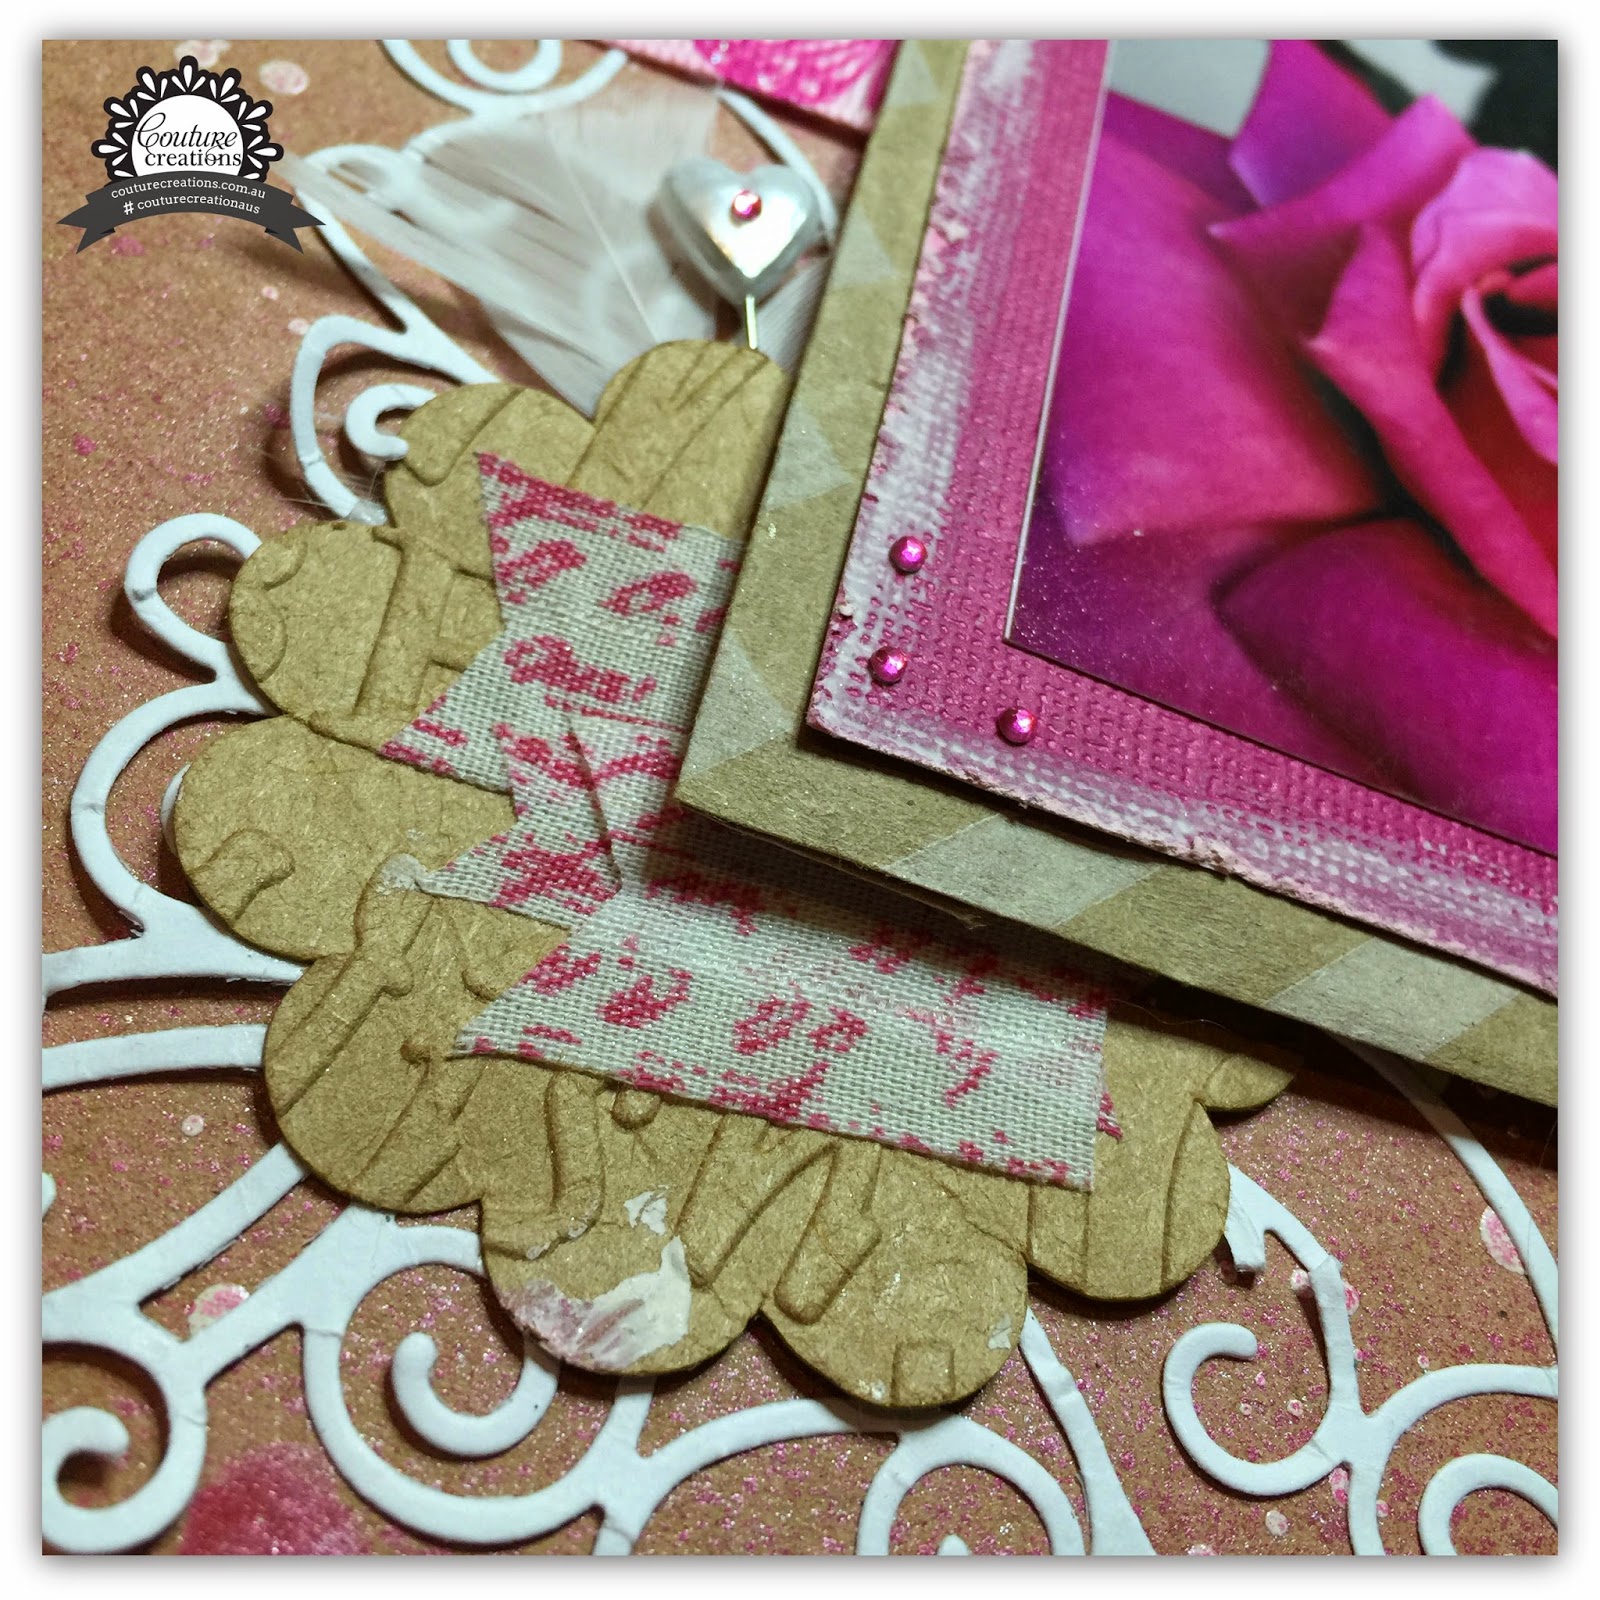
Cutting the embossed patted down  to the size of my card front, I've added some gauze on either end as a trim (using double sided tape) and have then mounted the paper on foam tape for dimension and adhered to the card.  It add some detail to the card I've cut two of the single flourish from the Coteaux Curls (2pc) set from the Elegant Card Cuts Collection, placing them in opposite corners. 
Given the intricacy of this die the Turbo Precision pen was perfect to use when adhering them. 

 Once dried, I've added 2mm gemstones in Celadon and placed on the ends of the curls.
To add my title I've used a chipboard word, with some gauze underneath.  I used the Turbo Precision pen again to stick both word and the gauze to the paper.
And we're done!  
Nice and quick for when you need a card in a hurry, but certainly not scrimped on colour  or details.
Thanks for dropping by. 

Be sure to check the Couture Creations Blog to be inspired 
by the amazing ladies on the Design Team. 
You can also follow Couture Creations on
FacebookPinterestInstagram and Twitter.


Couture Creations Products Used


Wednesday, 20 May 2015

Everyday Beautiful - Couture Creations


#couturecreationsaus

Hello again crafters! 

Tracey R with you today. 
I'm so glad to be once again here on the blog and sharing more 
awesome Couture Creations products.

Enough talking - Let's get making! 


I really love the detail and fine lines of the Malvoisie Corners die from the Elegant Card Cuts range.  I've been wanting to use it for something other than a card 
and thought it would be perfect to use as a frame on a scrapbook layout.  
I chose a bright pink core'dinations card stock background to match the photo and distresses this with my non-stick scissors.  I've then layered a torn piece of kraft core'dinations on top,
 flicked white paint and sprayed pink pearled mist over the page.


I've cut 8 of the separate corner pieces from Malvoisie Corners using the Quick Release die paper, placed them in a square shape, and placed my mounted photo in the middle. 


The perfect adhesive to use with such delicate die cuts is the Turbo Precision Pen
The glue comes out in such a controlled and precise way, it makes it so easy to draw fine lines and not have glue go everywhere (and how many times have we have THAT happen!)


When mounting my photo, I wanted to give it some dimension on the page, so I've used
Couture Creations 3D Foam Strips.  No more cutting little bits of foam tape! 
This product is fantastic!


Next I've used the Hearts Ease Words embossing folder to add some detail for a corner embellishment, and tucked it under the bottom left hand side of my mounted photo. 
 Don't forget that you can use your embossing folders for shapes not just as a whole.


Next I've cut three little flower lace borders from the Elissa Set (Frames N Frills Ornamental Lace Die Set) and layered them on top of one another, in the lower left hand side of my page. 


I've used my very favourite embellishment at the moment - 2mm Gemstones
(I can't get enough of these!!!) to decorate the bottom white layer of the borders, 
on the bottom left corner of my photo mat, and on the points around the diecut frame. 


on the back and adhered on tp the flower lace borders.  
TIP - I find it so much easier to add my die cuts to the spot while it's on the roll, peel off the diecut and place where required. 


To match my Couture Creations bulk white flowers perfectly to my layout, i spritzed them with the same pink pearl mist that's on the background and once dry opened them out. 
I purposely left the flowers closed when misting so that when they were opened (after the mist was dry), there would still be some contrasting white.


In the middle of the flowers I've placed some of the larger Gemstones to compliment 
the other bling on the page. 


Some close ups of the details...


A few other hints of pink, some sequins and the layout is done. 


And be sure to follow us on FacebookInstagram and Pinterest to keep up to date with all the last Couture Creations news and Design Team inspiration. 


I hope that you find your 'Everyday Beautiful today! 
And that you create something to celebrate it. 

Thanks for stopping by

Tracey xxx