Wednesday, 20 May 2015

Everyday Beautiful - Couture Creations


#couturecreationsaus

Hello again crafters! 

Tracey R with you today. 
I'm so glad to be once again here on the blog and sharing more 
awesome Couture Creations products.

Enough talking - Let's get making! 


I really love the detail and fine lines of the Malvoisie Corners die from the Elegant Card Cuts range.  I've been wanting to use it for something other than a card 
and thought it would be perfect to use as a frame on a scrapbook layout.  
I chose a bright pink core'dinations card stock background to match the photo and distresses this with my non-stick scissors.  I've then layered a torn piece of kraft core'dinations on top,
 flicked white paint and sprayed pink pearled mist over the page.


I've cut 8 of the separate corner pieces from Malvoisie Corners using the Quick Release die paper, placed them in a square shape, and placed my mounted photo in the middle. 


The perfect adhesive to use with such delicate die cuts is the Turbo Precision Pen
The glue comes out in such a controlled and precise way, it makes it so easy to draw fine lines and not have glue go everywhere (and how many times have we have THAT happen!)


When mounting my photo, I wanted to give it some dimension on the page, so I've used
Couture Creations 3D Foam Strips.  No more cutting little bits of foam tape! 
This product is fantastic!


Next I've used the Hearts Ease Words embossing folder to add some detail for a corner embellishment, and tucked it under the bottom left hand side of my mounted photo. 
 Don't forget that you can use your embossing folders for shapes not just as a whole.
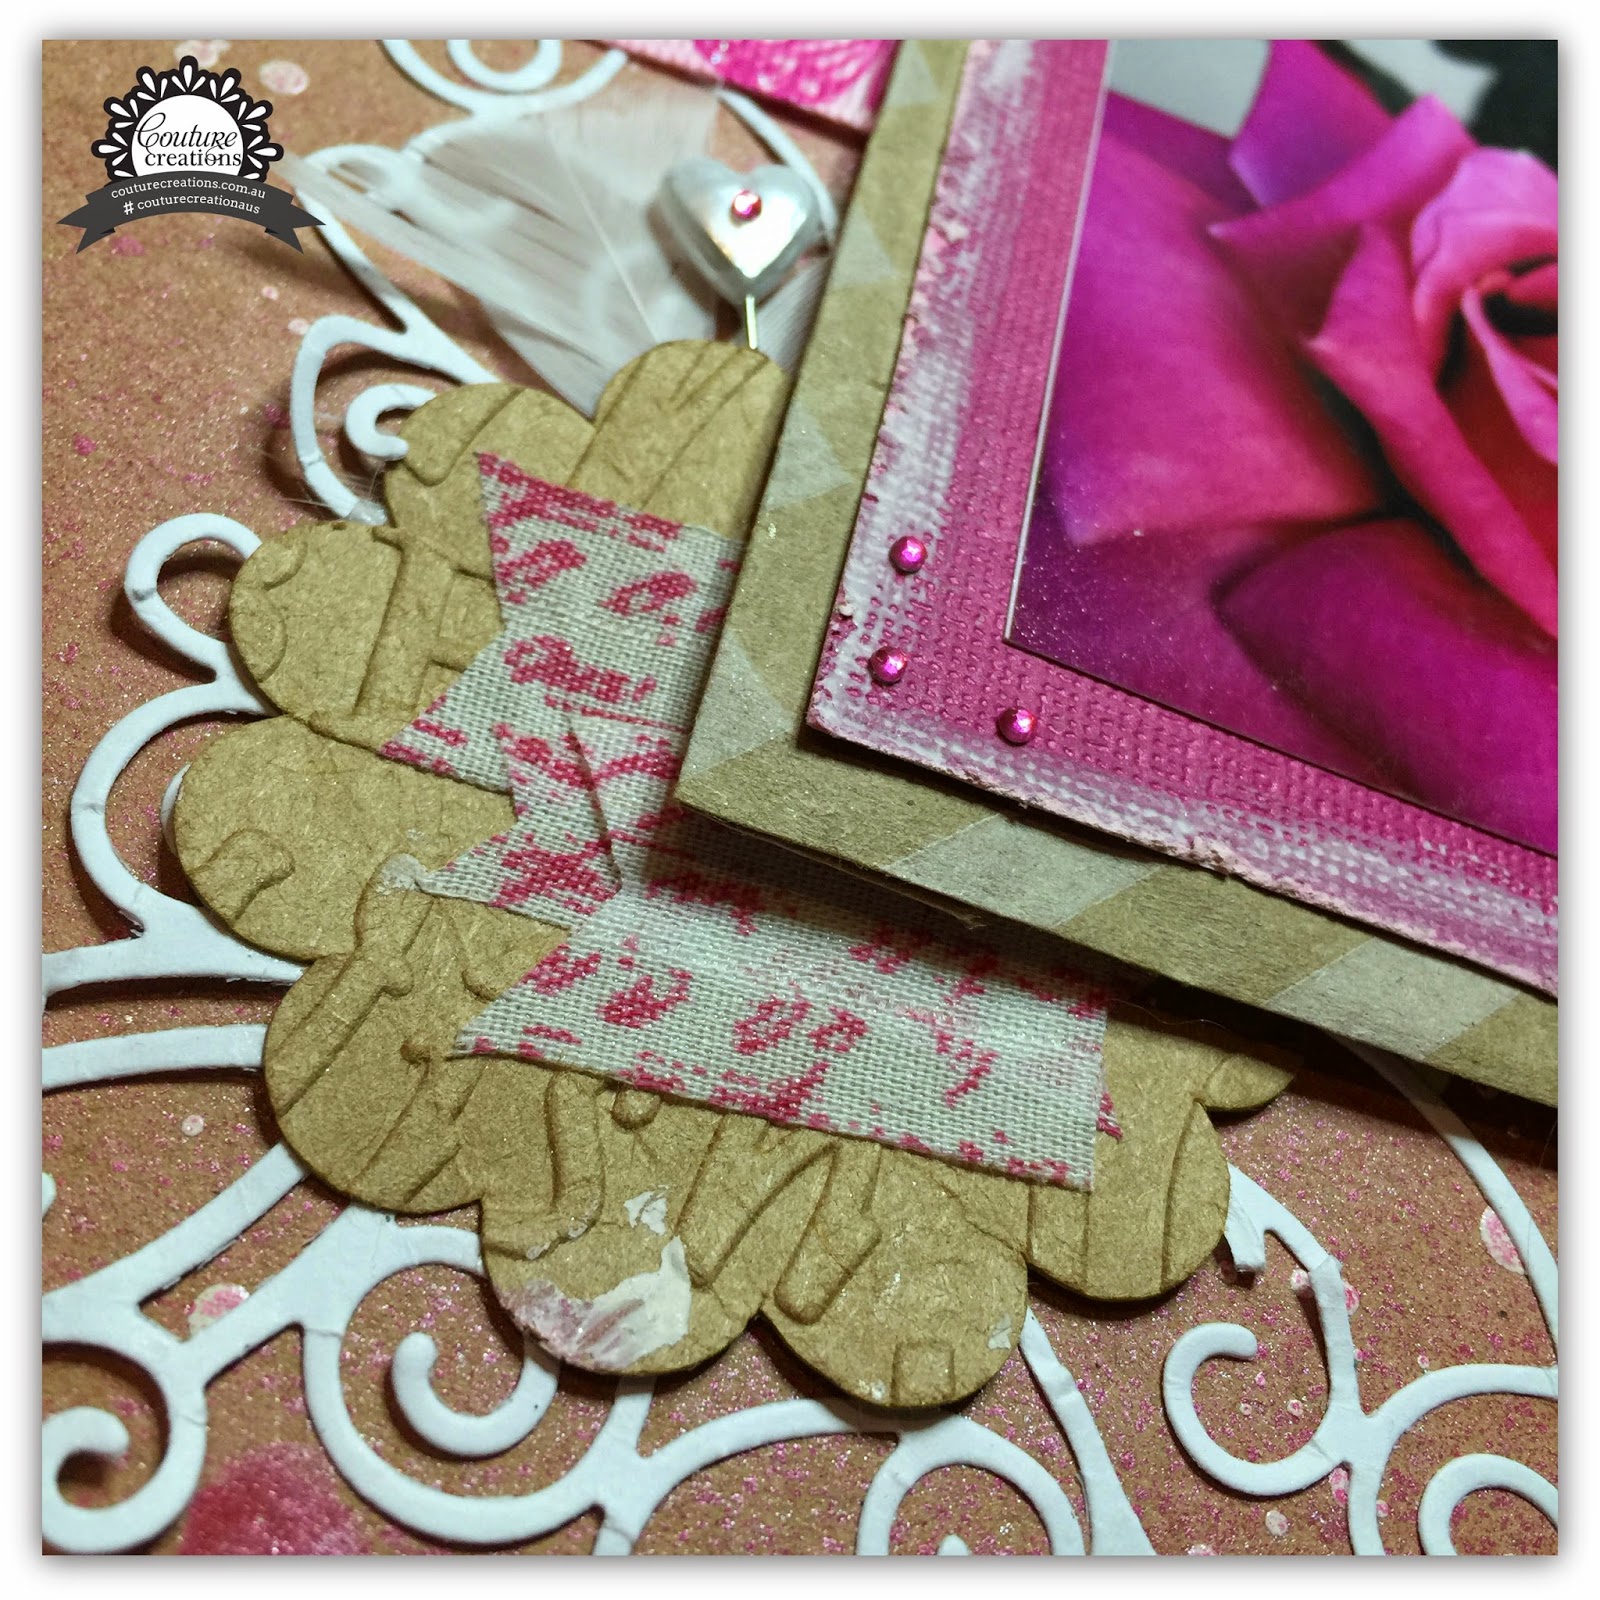


Next I've cut three little flower lace borders from the Elissa Set (Frames N Frills Ornamental Lace Die Set) and layered them on top of one another, in the lower left hand side of my page. 


I've used my very favourite embellishment at the moment - 2mm Gemstones
(I can't get enough of these!!!) to decorate the bottom white layer of the borders, 
on the bottom left corner of my photo mat, and on the points around the diecut frame. 


on the back and adhered on tp the flower lace borders.  
TIP - I find it so much easier to add my die cuts to the spot while it's on the roll, peel off the diecut and place where required. 


To match my Couture Creations bulk white flowers perfectly to my layout, i spritzed them with the same pink pearl mist that's on the background and once dry opened them out. 
I purposely left the flowers closed when misting so that when they were opened (after the mist was dry), there would still be some contrasting white.


In the middle of the flowers I've placed some of the larger Gemstones to compliment 
the other bling on the page. 


Some close ups of the details...


A few other hints of pink, some sequins and the layout is done. 


And be sure to follow us on FacebookInstagram and Pinterest to keep up to date with all the last Couture Creations news and Design Team inspiration. 


I hope that you find your 'Everyday Beautiful today! 
And that you create something to celebrate it. 

Thanks for stopping by

Tracey xxx


Monday, 11 May 2015

Enjoy Yourself Everyday - Couture Creations


#couturecreationsaus

Hello and welcome to another Couture Creations project!

Tracey R here today to share some craftiness and awesome products with you. 

Isn't spending time with your friends the best?  It's a definite way to 
destress and relax.  I am very lucky to have a group of ladies who 
share my love of craft (and Couture Creations!) and even more lucky that 
I go away on a craft retreat with them for 3 nights twice a year. 
I know right!  How lucky am I? 

This layout was inspired by a twenties themed night at our retreat last year with my fellow Design Teamer the lovely Lesa Bird. Printing out the photo in sepia, I knew it would suit the tones of the Vintage Rose Collection, with some gold thrown in for good measure!

So let's get making! 

First I matted my photo on a Kraft core'dinations cardstock and then chose a coordinating patterned paper from the Vintage Rose Collection. 


To add some dimension to the mats I have distressed the edges using my non stick scissors and then brushed a brown ink pad around each side. 


I'm a visual person. So when i choose my papers I like to lay them out and see how they coordinate together. I had chose another two Vintage Rose papers, cut them down and distressed and inked these as well.  As a base for the layout I have again used the Kraft Core'dinations cardstock.


I've taped the bottom two pieces of Vintage Rose paper with 6mm double sided tape and layered on the background cardstock.  The perfect thing to adhere my cotton gauze to the layout is the Couture Creations 18mm doubled sided tape.  Excellent for wide coverage and great stick.  I've added a piece along the width of the layout at the bottom of the smaller piece of vintage rose paper. 


To mount my matted photo to the layout I've used the Couture Creations 3D Foam dots. I love that the dimension they add.  And the easiest way io find to use them is to remove them from the sheet with the Piercing tool from Handheld Essentionals Tool Kit. 


To embellish this layout I've cut 2 of the Beach Fern die from the Everyday Essentials range.
 I have layered the ferns cut from kraft core'dintations AND die release paper
 to the bottom left of my photo. 


I seriously never die cut anymore without using the Quick Release die paper
Not only does it make cutting and removing the images a breeze, you are also creating extra "FREE" embellishments for yourself!
If you haven't seen it in action take a look at this video...It's a game changer!


Couture Creations have recently released their very own flower range!
There are 15 styles & sizes to choose from.
  
I have been itching to have a play with them - so many to choose from! 
I chose one of the larger flowers - a Cottage Pollen Flower - sprayed it with mist and rubbed 
Aztec Gold Glitzin' Glamour Glitter Glue all over it to make it pop. 


After the flower has dried, I've placed the flower on top of the leaves. 


Gold is definitely on trend at the moment. Which I am LOVING! 
It add some sparkle to this layout I run a line of Aztec Gold Glitzin' Glamour around the edge of the layout and spread it out,  creating a lovely gold shimmer effect.


To bling up my layout even more (there is NEVER enough bling!!!) I've added some Sparkling Champagne Gemstones as an accent both to the side and on the photo.  While the Golden Touch 2mm Gemstones add little flecks of gold in the corners of the Vintage Rose Paper 
and either side of the title.


And we're done!


Be sure to check the Couture Creations Blog to be inspired 

by the amazing ladies on the Design Team. 
You can also follow Couture Creations on

FacebookPinterestInstagram and Twitter. 


Couture Creations Products Used


Have a crafty day! 
Tracey R
xx


Monday, 13 April 2015

In the Garden Card - Couture Creations

Tracey R here you with today and I'm thrilled that my time on the
2015 Couture Creations Design Team has finally begun! 

I feel so honoured to be in such creative company - these are some seriously talented ladies! If you haven't already, head over to the Couture Creations Blog and meet the whole team. 


So without further ado, let's create! 

 My first Couture Creations project is a card with the new Elegant Card Cuts Die Collection.
I've used the Malvoisie Corners set. I love the intricacy & corner details of this die.
t's so pretty and cuts beautifully, 


    The card base is 6"x6".  I've simply cut a 12"x12" piece of white co'ordinations card stock in half, and then folded one of those piece in half. 


 Taking the other half I have cut a 5.5"x5.5" mat 
and placed this on my card front with 6mm double sided tape.

 One of my favourite quickest techniques is distressing. I would use it on most of my projects and with the Couture Creations scissors you can get very easily distress as much or as little as you'd like. I just run one of the blades along the cardstock and voila! Instant dimension and depth.


I have squeezed some Violet Glitz' Glamour on to the card and wiped it across the middle to add a really nice but understated background - nothing like getting all glittery!


 Next I've die cut my card cut using the Couture Creations Quick Release Die Paper and purple cardstock. I am seriously in love with this paper! No more poking out die cuts from the dies (and possibly ripping it) or picking out little bits of paper. It's a crafter's dream. For this die, a good tip is to only cut/tear your release paper and just add it under the corners.


I have adhered the card cut die to my card with the new Couture Creations Turbo Precision Glue Pen. It's super fine tip made it easy to apply glue to fine lines in the corner. 

To make the embellishments for the card I've used dies from the Kalini range. 


 I've cut 6 of the Tall Basket flowers in green toned paper from the Vintage Rose Paper collection and adhered them in a very rough oval shape. The Couture Creations Craft Glue Spots were perfect for this.


 I love the look of handmade flowers on my projects using pattered paper you can get 
such a pretty effect. I cut the Falling Blossoms die twice using Vintage Rose Patterned Papers and scrunched the flowers in my hand and then layered them on top of one another. Using another glue spot i've stuck the flowers down and then used the Violet Glitzin' Glamour to add some sparkle to the flower.


 The third Kalini die i have used is the Stained Glass Butterfly. So pretty and elegant. I've cut that in the same purple cardstock and added Violet Glitin' Glamour to that as well. A small amount of Turbo Precision Glue and the Butterfly is added to the card.  You can also shape your butterfly's wings to give it a more 3D effect. 


 Lastly I have added bling to the card - what's a card without bling i say! I used theViolet 2mm Gemstones on the corner pieces. These tiny gems are fabulous for adding colour and come in 12 beautiful colours. I didn't have any purple bling to add to the flower or butterfly...so... you improvise! 
Don't forget to enter the latest Couture Creations Giveaway on the blog - hello free stuff!
And be sure to follow us on Facebook, Instagram and Pinterest to keep up to date with all the last Couture Creations news and Design Team inspiration. 

 Thanks for stopping by! 

Tracey x

Saturday, 14 February 2015

Couture Creations 2015 Design Team Audition

Couture Creations make some of my favourite die and embossing folders.  If you haven't seen their products before, you can check out their website, blog, Instagram or Facebook pages.
 I love that they are an Australian company, so I get to support Australian craft!

I am very excited to see a call on their blog for the 2015 Design Team.
I use many of their products on a regular basis in scrapbooking and card making so it would be such a fantastic opportunity to be part of the Design Team.

Here are my five designs that showcase my use and love of Couture Creations products.


Happy Birthday

Starting with an embossed background (Irish Clubs), I've then cut two doilies using a die from the Cameo range and placed them side by side.  I saved the die cut release paper from the doily die cuts and used these as my 'patterned' paper - great recycling! This card uses my two current favourite Couture products - quick release die paper (this paper is amazing! If you haven't tried it, your die cutting will never be the same!!!) and the Vintage Rose Classic Vine Die.  I cut six of the Vintage Vine die and layered them on top of one another over the release paper so that it looked like a frame.  To finish off the card I've added some of the new sparkly  Crystal 2mm gemstones.
 

Flower and Butterfly Card

I've started with an overlay die from the Momento Collection Ornamental Lace Cutting Dies (Tied Together).  I've die cut embellishments with the Vintage branch die (Vintage Rose Collection), Funky flowers die (Secret Treasures Collection) and a butterfly die (from the 3-in-1 range).  The flower and the butterfly are cut from Vintage Rose Patterned Paper.  I've used 3 layers on the butterfly to give it dimension and look like fluttering wings.  The top and bottom layers are Vintage Rose Paper and the middle is quick release paper - don't throw away those scraps!  The decorative print on the Quick Release Die Paper makes it perfect as a bonus embellishment after you have used it to die cut.  Couture Creations Gemstones have been added to the butterfly and the background die.


Cup Cake Tower

The Vintage Rose papers remind me of afternoon teas, china cups and homemade treats.  Perfect for using to decorate this cupcake tower.
I started by covering all pieces of the tower in Vintage Rose Collection Paper. I used the scalloped border die (Momento Collection Ornamental Lace) as a decorative trim around both tiers and added butterfly die cuts (Van Roe Collection) sitting on top of greenery cut with the Vintage Vine die.  Couture Creations Gemstones add some sparkle to the butterflies and the 2mm Gemstones have been placed around the circumference of both tiers. Finally I have placed a doily die from The Treasures Collection Ornamental Lace Cutting Dies range on the top tier.

 
To Do Blackboard

I bought this chalk board a while ago and knew I wanted to 'pretty' it up.
What better way than with Couture dies and paper?
Using the Vintage Rose Paper I've cut embellishments with flower and Victorian frame nesting dies, and a butterfly & leaf die from the Van Roe Collection.  I have again made use of my quick release die paper 'off cuts' with the border die I used on my cupcake tower above.


Pocket Page

 I have recently become a lover of Pocket Page scrapbooking. It will never replace my love of creating a traditional 12x12 scrapbook layout, but I love the simplicity and speed it provides when documenting my photos.  And most of it will allow me to get my hundreds (ok, ok thousands) of photos off the phone/computer and into albums where they can be enjoyed.  I mean isn't that WHY we take photos?

On this page I have used the Vintage Rose Collection paper, 4 dies from Secret Treasures Collection (banner, zig zag, ticket stubs and tabbed card), nesting flower die and the Vintage branch die (Vintage Rose Collection) and added
Champagne 2 mm Gemstones to highlight the cards.  I've rounded the corners of the cards with the Couture Creations corner rounder.


Thanks for stopping by and having a look.
Good luck to everyone who applies!